
Stop Rice Burning: 7 Easy Fixes for Perfect Fluffy Rice
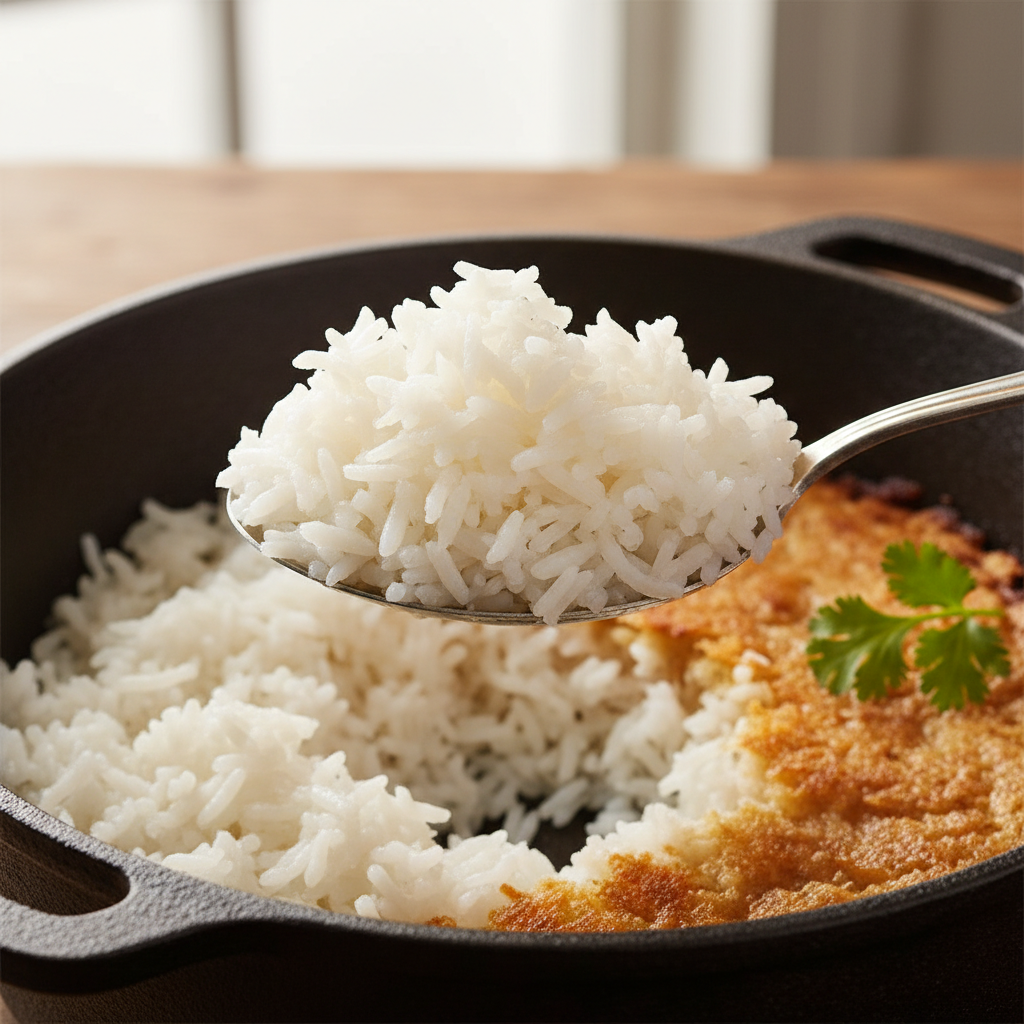
Why Does My Rice Burn at the Bottom? Your rice burns at the bottom because water evaporates too quickly, leaving grains in direct contact with the hot pot surface, causing them to scorch.
Why Does My Rice Burn at the Bottom. The acrid, smoky scent of burnt rice is a common kitchen frustration. If you’ve ever wondered, “Why does my rice burn at the bottom?”, you’re not alone. However, not all crispy rice is bad! In Peru, a celebrated, golden, crunchy layer called concolón, or pegao in other parts of Latin America, is highly prized. The key is distinguishing between a delicious, toasted bottom and a burnt, bitter tragedy. We'll break down the science, pinpoint common culprits, and provide a foolproof recipe to prevent scorched rice.
Why Does My Rice Burn at the Bottom. Want to create your own custom recipes? Try our AI-powered recipe generator for personalized cooking solutions tailored to your ingredients and preferences.
The Science of Burnt Rice
Why Does My Rice Burn at the Bottom. Cooking rice involves balancing water, starch, and heat. Starch granules absorb liquid and swell (starch gelatinization). Burning occurs when water evaporates too quickly, leaving bottom grains in direct contact with the hot pot. Without water, starches and sugars caramelize and then burn.
7 Common Culprits: Why Does My Rice Burn at the Bottom?
Why Does My Rice Burn at the Bottom. Your rice is likely burning due to one (or a combination) of these seven common issues.
1. Heat is Too High
Why Does My Rice Burn at the Bottom. Leaving heat on medium or medium-high after boiling causes water to evaporate too quickly, scorching grains before the rest cooks through.
The Fix: Bring water to a rolling boil, then immediately turn heat to the absolute lowest setting. Aim for a gentle simmer for slow, even absorption and steaming.
2. Incorrect Rice-to-Water Ratio
Too little water leads to burning. Too much water makes rice gummy and mushy, also causing sticking and scorching as starchy goo settles.
The Fix: The classic 1:2 ratio is a starting point, but not universal. For most long-grain white rice, 1:1.5 is often better. Check package directions and measure accurately. For more detailed guidance, Serious Eats provides an excellent resource on how to cook rice perfectly every time, including water ratios for different types of rice.
3. Your Pot is Inadequate
Thin, flimsy pots create “hot spots” that scorch rice in specific areas.
The Fix: Invest in a heavy-bottomed pot, like a Dutch oven or quality saucepan. A thick base distributes heat evenly, eliminating hot spots and providing consistent temperature.
4. Compulsive Stirring (or Peeking)
Lifting the lid releases crucial steam, undercooking the top layer while the bottom overcooks. Stirring breaks grains and releases starch, creating a sticky texture prone to burning.
The Fix: Once heat is lowered, put the lid on and set a timer for 15-18 minutes (for white rice). Do not lift the lid or stir. Trust the process.
5. Skipping the Rinse
Excess surface starch, if not rinsed, turns into a sticky paste that settles at the bottom and fuels burning.
The Fix: Always rinse rice in a fine-mesh sieve under cool water until the water runs mostly clear. This prevents burning and results in fluffier grains, a technique widely recommended in culinary practices.
6. Unreliable Stove
Electric coil stoves can have temperature surges. Even gas stoves can have uneven flames. Knowing your equipment helps.
The Fix: On an electric stove, try moving the pot to a smaller burner after it boils for less intense heat. A heat diffuser can also help with hot spots.
7. Insufficient Rest Time
The rest period allows residual heat and steam to redistribute, finishing cooking gently and ensuring every grain is fluffy.
The Fix: After cooking, turn off the heat but leave the pot covered for another 5-10 minutes. Only then, fluff the rice with a fork.
The Art of the *Pegao*: When Crispy Rice is Good!
In Latin American and other cultures (like Persian *tahdig*), a crispy bottom layer is a culinary treasure, called *pegao* or *concolón*. It's nutty, crunchy, and delicious.
The difference is control. It’s achieved with a heavy pot, the right amount of oil, and precise heat management. After steaming, the heat might be turned up to purposefully toast the bottom until golden brown and crispy, not black and bitter. This technique takes practice but is rewarding, as Serious Eats explains in their guide to making perfect tahdig.
Recipe: Foolproof Latin-Style White Rice (Arroz Blanco)
Ready to put it all into practice? This is my go-to method for perfect, fluffy white rice with the potential for a beautiful, golden *pegao* if you're feeling adventurous. Toasting the rice in a little oil and garlic first adds divine flavor.
Foolproof Arroz Blanco
Prep Time: 5 minutes
Cook Time: 25 minutes
Total Time: 30 minutes
Servings: 4
Difficulty: Easy
Ingredients
- 1 tbsp Olive Oil or other neutral oil
- 2 cloves Garlic, minced
- 1.5 cups (300g) Long-grain White Rice
- 2.25 cups (530ml) Water or chicken broth
- 1 tsp Salt
Instructions
- Rinse the Rice: Place rice in a fine-mesh sieve and rinse under cool running water until water runs mostly clear. Shake well to remove excess water.
- Sauté Aromatics: Heat olive oil in a medium, heavy-bottomed saucepan or Dutch oven over medium heat. Add minced garlic; cook 30-60 seconds until fragrant. Do not brown.
- Toast the Rice: Add rinsed and drained rice to the pot. Stir constantly for 2-3 minutes. Grains will become opaque and smell slightly nutty. This helps keep grains separate and adds flavor.
- Add Liquid and Boil: Pour in water (or broth) and add salt. Stir once to combine. Turn heat to high and bring to a rolling boil.
- Simmer and Cover: As soon as it boils, immediately reduce heat to the lowest possible setting. Cover with a tight-fitting lid.
- Cook Undisturbed: Let rice simmer for 18 minutes. Do not lift the lid!
- Rest and Fluff: After 18 minutes, turn off heat. Let pot stand, still covered, for another 5-10 minutes to allow steam to redistribute.
- Serve: Remove lid, fluff rice gently with a fork, and serve immediately. You might find a perfect golden layer at the bottom!
Pro Tips
- For extra flavor: Use chicken broth instead of water.
- For * ```
Frequently Asked Questions
Why does my rice burn at the bottom despite using the right water ratio?
Even with the correct water ratio, your rice can burn if the heat is too high or your pot is inadequate. Ensure you reduce the heat to the absolute lowest setting after boiling, and consider using a heavy-bottomed pot for more even heat distribution.
What is the ideal heat setting to prevent my rice from burning at the bottom?
To prevent your rice from burning, bring the water to a rolling boil, then immediately turn the heat down to the lowest possible setting. This allows the rice to simmer gently and absorb water evenly without scorching.
How can I tell if my pot is causing my rice to burn at the bottom?
Thin or flimsy pots often create "hot spots" that cause rice to burn in specific areas. If you consistently find localized scorching despite adjusting other factors, an inadequate pot is likely the culprit. Opt for a heavy-bottomed pot for better heat diffusion.
Why does my rice burn at the bottom even after following package directions?
Package directions are a good starting point, but factors like your stove's specific heat output and the type of pot can still lead to burning. Focus on reducing heat after boiling and ensuring your pot distributes heat evenly to avoid scorching.
Can stirring my rice cause it to burn at the bottom?
Yes, excessive stirring can be detrimental. It releases starch into the water, making the rice gummy and prone to sticking to the bottom, which can then lead to burning. Only stir once briefly when combining ingredients at the beginning.