
The Foolproof Trick for Non-Sticky Rice (Works Every Single Time)
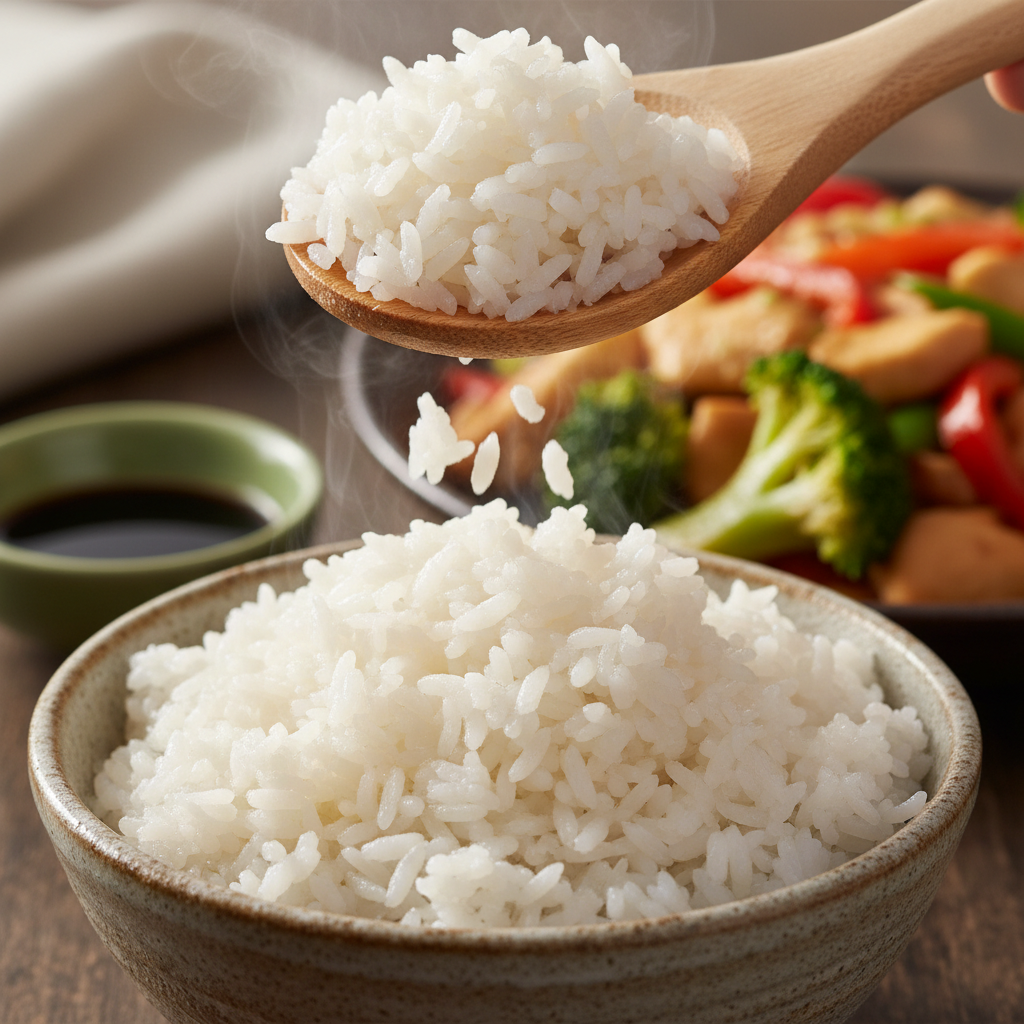
Why Does My Rice Stick Together? Your rice sticks together primarily due to excess surface starch and the type of starch (amylopectin) present in the grains, which becomes glue-like when cooked.
Why Does My Rice Stick Together?. Cooking perfect rice isn't magic; it's science. Understanding the *why* behind the stickiness will help you master fluffy rice every time.
Why Does My Rice Stick Together?. Want to create your own custom recipes? Try our AI-powered recipe generator for personalized cooking solutions tailored to your ingredients and preferences.
The Sticky Culprit: Understanding Rice Starch
Why Does My Rice Stick Together?. The one-word answer to all your rice woes? Starch. Every grain of rice contains starch. When cooked, it absorbs water, and starch granules swell. The type and amount of starch that leaches into the cooking water determines the final texture.
Why Does My Rice Stick Together?. There are two main types of starch in rice: amylopectin and amylose.
Amylopectin: The Clingy Starch
Why Does My Rice Stick Together?. Amylopectin has a highly branched structure that easily gelatinizes and dissolves in water, creating a sticky, glue-like gel. This makes rice grains cling. Rice varieties high in amylopectin include short-grain rice (sushi, Arborio) and glutinous rice.
Amylose: The Independent Starch
Why Does My Rice Stick Together?. Amylose is a long, straight-chain molecule that doesn't gelatinize as easily. Rice with higher amylose content cooks up much fluffier, with separate, defined grains. Long-grain varieties like Jasmine and Basmati are rich in amylose, making them ideal for fluffy textures. As food science experts at Serious Eats explain, minimizing starch escape is key to fluffy rice.
5 Reasons Why Your Rice Sticks Together
Why Does My Rice Stick Together?. Now that we know the science, let's diagnose common mistakes. If your rice is sticky, you're likely making one of these five errors.
1. Skipping the Rinse
This is the most common and critical mistake. Uncooked rice grains are coated in fine starch powder from milling. If not rinsed, this turns cooking water into starchy glue. Rinsing in cool water until clear washes away this excess surface starch, a non-negotiable step for separate, fluffy grains.
2. Incorrect Rice-to-Water Ratio
Too much water makes rice waterlogged and mushy. Excess liquid allows more starch to leak, creating a soupy, sticky mess. For long-grain white rice on the stovetop, a great starting point is 1 cup of rice to 1.5 cups of water. Rice cookers often use a 1:1 ratio. Always check package directions!
3. Using the Wrong Kind of Rice
Trying to make fluffy pilaf with sushi rice is a recipe for failure. Different rice varieties are for different purposes. High-amylopectin rice like short-grain or Arborio will naturally be stickier. For fluffy, separate grains, always choose long-grain varieties like Jasmine or Basmati.
4. Too Much Stirring
Once simmering, leave your rice alone! Stirring agitates grains, scraping off their starchy outer layer. This releases more starch, thickening the water and encouraging clumping. This is why you stir risotto constantly for creaminess; for fluffy rice, do the opposite. Keep the lid on and resist peeking or stirring.
5. Not Letting It Rest
This is often overlooked. After cooking, turn off the heat and let the pot stand, covered, for at least 10 minutes. This resting period allows residual steam to be absorbed evenly, firming grains and ensuring consistent texture. Any surface moisture evaporates, leaving perfectly dry, separate grains.
How to Cook Perfect, Fluffy Rice Every Time: A Step-by-Step Guide
Ready to put it all into practice? Follow these steps to say goodbye to sticky rice forever. For more guidance, check out this great guide on cooking rice from the Food Network.
Step 1: Choose Your Champion
Select a long-grain rice like Jasmine or Basmati for the fluffiest results. These are your go-to options for most everyday meals.
Step 2: The All-Important Rinse
Place measured rice in a bowl and cover with cool water. Swirl until the water becomes cloudy. Drain and repeat 3-4 times, or until the water is mostly clear. Use a fine-mesh sieve to prevent losing grains.
Step 3: Nail the Water Ratio
Measure water precisely. For stovetop long-grain rice, start with 1.5 cups of water for every 1 cup of rinsed rice. For a rice cooker, typically use a 1:1 ratio. Check out our guide to the `best rice cookers` for more tips.
Step 4: The Cook (Stovetop vs. Rice Cooker)
On the stovetop, bring rice and water to a rolling boil. Immediately reduce heat to the lowest setting, cover tightly, and simmer for 15-18 minutes, or until water is absorbed. In a rice cooker, simply press the button.
Step 5: Let It Steam in Peace
Once cooked, remove the pot from heat (or let the rice cooker switch to 'warm') and let it sit, covered and undisturbed, for 10 minutes. Do not skip this step!
Step 6: Fluff with Finesse
Finally, remove the lid. Use a fork or rice paddle to gently fluff the rice, lifting and separating grains from the bottom up. This releases trapped steam and creates a light, airy texture.
Recipe: The Ultimate Fluffy Jasmine Rice
This is my go-to, never-fail recipe for perfect Jasmine rice, ideal for everything from Thai green curry to teriyaki chicken. It's a foundational recipe worth mastering. `what to serve with jasmine rice`
The Ultimate Fluffy Jasmine Rice
Prep time: 5 minutes (for rinsing)
Cook time: 15 minutes
Rest time: 10 minutes
Total time: 30 minutes
Servings: 3-4
Difficulty: Easy
Ingredients:
- 1 cup (200g) high-quality Thai Jasmine rice
- 1 ½ cups (355ml) cold water
- ¼ teaspoon salt (optional)
Instructions:
- Rinse the Rice: Place jasmine rice in a medium bowl. Cover with cool water and swirl. Drain milky water. Repeat 3-4 times until water is significantly clearer. Drain well in a fine-mesh sieve.
- Combine Ingredients: Transfer rinsed rice to a small or medium saucepan with a tight-fitting lid. Add 1 ½ cups cold water and optional salt.
- Bring to a Boil: Place saucepan over high heat and bring to a rolling boil. Do not cover.
- Simmer and Cover: As soon as it boils, immediately reduce heat to the lowest setting. Cover pot with a tight-fitting lid.
- Cook: Simmer gently for exactly 15 minutes. Do not lift lid or stir.
- Rest: Remove from heat and let stand, covered, for 10 minutes.
- Fluff ```
Frequently Asked Questions
Why does my rice stick together even after rinsing?
Even with rinsing, your rice might still stick together if you're using too much water, preventing proper absorption and creating excess starch. Also, some rice varieties, particularly short-grain rice high in amylopectin, are naturally stickier by design.
What type of rice is less likely to stick together?
Long-grain varieties like Basmati and Jasmine rice are less likely to stick together because they have a higher amylose content. Amylose is a straight-chain starch that doesn't gelatinize as easily, resulting in fluffier, more separate grains.
Can cooking temperature affect why my rice sticks together?
While not a primary factor, cooking at too high a temperature can sometimes cause the rice to overcook on the outside while remaining undercooked inside, leading to a pasty texture. Maintaining a gentle simmer after boiling helps ensure even cooking and reduces stickiness.
Why does my sushi rice stick together so much?
Sushi rice is intentionally sticky because it's a short-grain variety high in amylopectin, the "clingy starch." This characteristic is desirable for shaping sushi rolls and keeping the grains together, so its stickiness is by design.
Besides rinsing, what's another key tip to prevent my rice from sticking together?
After rinsing, ensure you're using the correct rice-to-water ratio. Too much water will make the rice waterlogged and mushy, allowing more starch to leak out and contributing to stickiness. Follow the specific instructions for your rice type for the best results.