
Rubbery Chicken? Here's the Real Reason (And How to Avoid It)
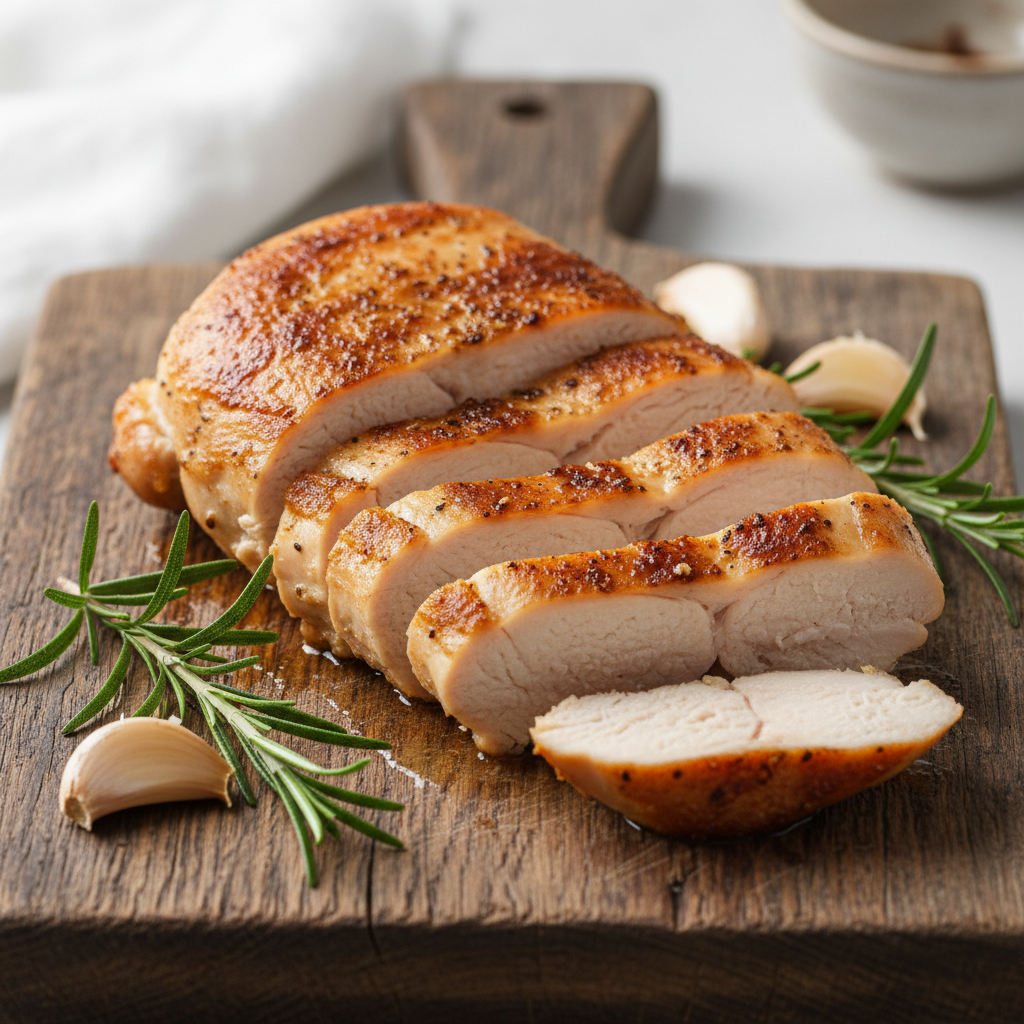
Chicken becomes rubbery when muscle fibers contract under high heat. Controlled cooking temperature prevents this.
The Science Behind Tough, Rubbery Chicken
why is my chicken rubbery. Chicken muscle fibers are like tiny straws filled with water. Heating causes these fibers to contract and expel moisture. While some heat cooks the chicken, too much heat squeezes fibers tightly, expelling almost all moisture. Proteins denature, creating a tight, dense, and rubbery texture. This is why managing heat and moisture is crucial.
The Top 5 Culprits: Why Is My Chicken Rubbery?
why is my chicken rubbery. Your chicken disaster can usually be traced back to one (or more) of these five common mistakes.
1. Overcooking: The #1 Enemy of Tenderness
why is my chicken rubbery. Overcooking is the biggest reason for rubbery chicken. We often overcook poultry out of fear of undercooking. Lean chicken breast, especially, has a narrow window between perfectly cooked and overcooked.
why is my chicken rubbery. Chicken breast is safe at an internal temperature of 165°F (74°C). However, pull it from the heat at around 160°F (71°C). Carryover cooking will raise the temperature by 5-10 degrees as it rests, reaching 165°F without drying out.
The Fix: Use a reliable instant-read digital thermometer. It removes guesswork and ensures perfect doneness without cutting into the chicken and losing juices.
2. Cooking It Straight From the Fridge
Cooking chicken directly from the fridge leads to uneven cooking. The outside cooks much faster than the chilled inside. By the time the center is done, the outer layers are overcooked and rubbery.
The Fix: Let your chicken sit at room temperature for 20-30 minutes before cooking. This allows for more even cooking, ensuring the inside and outside cook at a similar rate.
3. Skipping the Brine or Marinade
Moisture is essential for tender chicken. Brining, soaking meat in a saltwater solution, helps retain moisture by altering protein structure. Even a 30-minute brine makes a difference. A simple dry brine (salting and resting) also works wonders.
Marinades, especially yogurt-based ones, tenderize meat using acid and enzymes. Be cautious with highly acidic marinades; leaving chicken in too long can "cook" the outside and make it tough.
The Fix: For a quick wet brine, dissolve 1/4 cup of salt in 4 cups of water and submerge chicken for 30 minutes to an hour. For a dry brine, sprinkle chicken generously with salt and rest in the fridge for at least 30 minutes, or up to 24 hours.
4. The Wrong Cooking Method (or an Uneven Cut)
Chicken thighs, with higher fat content, are more forgiving than lean breasts. If you struggle with rubbery chicken, try thighs; they handle higher heat and longer cooking times better.
For breasts, their teardrop shape causes uneven cooking. The thin end overcooks before the thickest part is done, often leading to rubbery chicken.
The Fix: Pound chicken breasts to an even thickness. Place a breast between plastic wrap and gently pound the thickest part with a meat mallet or rolling pin until it’s uniform. This is a game-changer for pan-searing or grilling.
5. You Didn't Let It Rest
If you slice into chicken immediately after cooking, juices will run out, resulting in dry, rubbery meat. Resting allows muscle fibers to relax and reabsorb moisture, distributing it evenly. Reputable sources like the Food Standards Agency emphasize this crucial step.
The Fix: Let your chicken rest for 5-10 minutes before slicing or serving. Tent it loosely with foil to keep it warm. Larger pieces require longer rest times.
Recipe: The Anti-Rubbery Pan-Seared Chicken Breast
This recipe puts theory into practice, yielding juicy, tender chicken every time. It's simple, fast, and a foundation for many meals. Serve with jollof rice, a fresh salad, or roasted veggies.
Ingredients
- 2 boneless, skinless chicken breasts (about 6-8 oz / 170-225g each)
- 1 tsp kosher salt (plus more for brining if desired)
- 1/2 tsp black pepper
- 1/2 tsp garlic powder
- 1/2 tsp paprika (sweet or smoked)
- 2 tbsp olive oil or other neutral oil
- 1 tbsp butter
- 2 cloves garlic, smashed
- A few sprigs of fresh thyme or rosemary (optional)
Instructions
- Prep the Chicken: If breasts are thick, pound them to an even 3/4-inch (2cm) thickness. Pat them completely dry with paper towels for a good sear.
- Season Well: Mix salt, pepper, garlic powder, and paprika. Sprinkle evenly over chicken. Let sit at room temperature for 20-30 minutes.
- Heat the Pan: Place a large skillet (cast iron works well) over medium-high heat. Add olive oil until shimmering.
- Sear the Chicken: Place chicken breasts in the hot pan. Cook for 5-7 minutes on the first side without moving, until a deep, golden-brown crust forms.
- Flip and Finish: Flip chicken. Reduce heat to medium-low. Add butter, smashed garlic, and thyme sprigs to the pan.
- Baste and Check Temp: As butter melts, tilt the pan and baste chicken with the fragrant butter. Cook for another 5-7 minutes, basting occasionally. Check internal temperature; aim for 160°F (71°C) in the thickest part.
- REST, REST, REST: Transfer chicken to a clean cutting board. Tent loosely with foil and rest for a minimum of 5 minutes, preferably 10. The internal temp will rise to a safe 165°F (74°C).
- Serve: Slice chicken against the grain and serve immediately, drizzling any pan juices over the top.
Recipe Notes and Tips
- Difficulty: Easy
- Prep Time: 10 minutes (plus 20 mins for chicken to come to temp)
- Cook Time: 15 minutes
- Total Time: 45 minutes
- Servings: 2
- Pro Tip: Deglaze the pan after removing chicken. Add a splash of chicken broth or white wine, scrape up browned bits, reduce slightly, and pour over chicken.
- Storage: Store leftover chicken in an airtight container in the refrigerator for up to 3-4 days.
Conclusion
Say goodbye to rubbery chicken for good
```
Prevent This Next Time
Cook chicken at moderate heat (medium, not high), use a meat thermometer to hit exactly 74°C/165°F, and always let it rest for 5–10 minutes before cutting.
Food Safety Check
Chicken must reach an internal temperature of 74°C (165°F) to be safe. Use a meat thermometer inserted into the thickest part — never rely on colour alone.
Frequently Asked Questions
Why is my chicken rubbery but not dry?
Rubbery texture without dryness usually means the chicken was cooked at too-high heat for a short time. The outside firms up and contracts before moisture escapes.
Can you fix rubbery chicken?
Slice it thin and gently warm in broth or sauce. The added moisture and gentle heat help relax the contracted protein fibres.
Does brining prevent rubbery chicken?
Yes — brining in salt water for 30 minutes to 2 hours helps proteins retain moisture during cooking, resulting in more forgiving, tender meat.