
How to Fix Oily Curry: 4 Emergency Tips for a Perfect Sauce
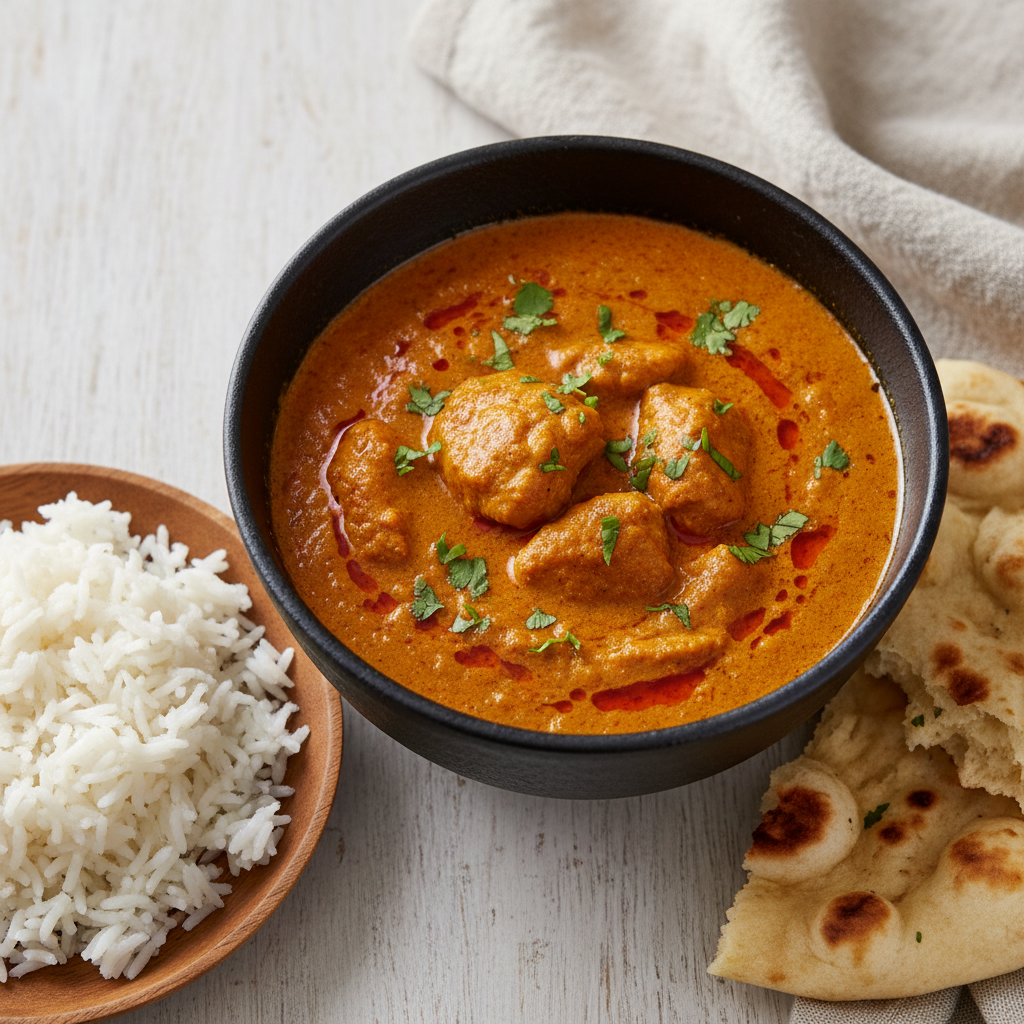
Why Is My Curry Too Oily. Your curry is likely too oily due to excessive fat, rushing the 'bhuna' process, adding liquids too quickly or cold, or over-boiling coconut milk.
Why Is My Curry Too Oily. You’ve spent time crafting what you hope will be the perfect curry, but a shimmering slick of orange oil floats on top. This is a common hurdle for home cooks. But oil separation isn't always bad, and you can control it. This guide will demystify that slick of fat, turning you into a curry master, confident in creating perfectly balanced, luscious curries every time.
Why Is My Curry Too Oily. Want to create your own custom recipes? Try our AI-powered recipe generator for personalized cooking solutions tailored to your ingredients and preferences.
First, Is an Oily Curry Really a Bad Thing?
Why Is My Curry Too Oily. In many traditional Indian curries, a little oil separation is the hallmark of a well-cooked dish. That reddish oil, often called 'rogan' or 'tari', signifies perfectly cooked spices that have released their fat-soluble compounds, infusing the dish with flavor. The goal isn't to eliminate oil entirely, but to control it. You want a luscious, well-emulsified sauce with a few droplets of infused oil, not a dish swimming in grease. The difference is all in the technique.
The Main Culprits: Why Is My Curry Too Oily?
Why Is My Curry Too Oily. Let's break down the common reasons your curry might have crossed the line from luscious to greasy. Understanding the 'why' is the first step to mastering the 'how'.
Culprit #1: You Used Too Much Fat
Why Is My Curry Too Oily. This is the easiest trap. Many recipes call for generous oil or ghee to toast spices and cook aromatics. If you start with too much, the sauce can't absorb it all.
The Fix: Start with a measured amount. A good rule of thumb is 2-3 tablespoons of fat for a curry serving four people. You can always add more later if needed.
Culprit #2: Rushing the “Bhuna” Process
Why Is My Curry Too Oily. This is critical. The most important stage in many curries is the bhuna. This is the slow sautéing of onions, ginger, garlic, and spices until they break down into a thick, homogenous paste. This is where emulsification happens.
Slowly cooking the base breaks down cell walls in onions and tomatoes, releasing water and natural thickeners. This creates a stable base that holds fat, creating a creamy sauce. If you rush this, and onions are crunchy or tomatoes watery, you lack a stable emulsion. When you add more liquid, the fat will separate and pool.
Culprit #3: Adding Liquid Too Quickly or When It's Too Cold
If you dump cold water or stock into a beautifully sautéed masala paste, you shock the system. This sudden temperature drop can cause the carefully rendered fat to seize and separate instantly.
The Fix: Add liquids (water, stock, or coconut milk) a little at a time. Stir well after each addition to allow the sauce to emulsify. Using warm or hot liquid also helps maintain a stable temperature, preventing fat from splitting.
Culprit #4: The Coconut Milk Conundrum
For Thai or South Indian curries, coconut milk is key. Full-fat coconut milk is an emulsion of fat and water. If boiled too aggressively, the emulsion can break, causing fat to separate and create a greasy, sometimes grainy texture.
The Fix: Once coconut milk is added, bring the curry to a gentle simmer, never a rolling boil. Keep heat low to medium-low to maintain a creamy consistency.
Emergency Fixes: How to Rescue an Already Oily Curry
If your curry is too greasy, don't panic! Here are simple rescue missions.
- Skim It: Tilt the pan and use a wide, shallow spoon to skim excess oil. You can also blot with a paper towel.
- Add a Starch Slurry: Whisk a teaspoon of cornstarch or chickpea flour (besan) with a few tablespoons of cold water. Slowly stir this slurry into your simmering curry. The starch will thicken the sauce and re-emulsify some free-floating fat.
- Add a Potato: Add a peeled, raw potato (whole or halved) to the curry and simmer for 15-20 minutes. The potato will absorb some excess grease and liquid. Remove before serving.
- Chill and Scrape: If time allows, refrigerate the curry. The excess fat will solidify on top, making it easy to scrape off before reheating.
The Foolproof Recipe: Perfectly Balanced Chicken Curry
The best way to learn is by doing! This recipe teaches proper technique for building a stable, luscious curry sauce from scratch, focusing on patience and the all-important bhuna step.
Recipe: The RipePlate Balanced Chicken Curry
This recipe demonstrates how to build a flavorful base that naturally emulsifies fat, preventing a greasy outcome. It's a classic North Indian-style curry that's perfect with some perfect-basmati-rice-recipe.
- Prep Time: 20 minutes
- Cook Time: 40 minutes
- Total Time: 1 hour
- Servings: 4
- Difficulty: Medium
Ingredients
- 1.5 lbs (680g) boneless, skinless chicken thighs, cut into 1.5-inch pieces
- 1 tsp salt, plus more to taste
- 1/2 tsp black pepper
- 3 tbsp ghee or neutral oil (like avocado) - learn to make your own with our homemade-ghee-recipe guide!
- 1 tsp cumin seeds
- 2 medium yellow onions, finely chopped (about 2 cups)
- 1 tbsp finely grated fresh ginger
- 4-5 cloves garlic, finely grated
- 1 serrano or jalapeño chili, finely chopped (optional)
- 1 (15-oz / 425g) can of crushed tomatoes
- 1 tsp turmeric powder
- 1.5 tsp garam masala
- 1 tsp ground coriander
- 1/2 tsp Kashmiri red chili powder (for color, not intense heat)
- 1 cup hot water or chicken stock
- 1/4 cup full-fat plain yogurt or coconut cream, at room temperature
- Fresh cilantro, for garnish
Instructions
- Pat the chicken pieces dry and season with 1 tsp salt and 1/2 tsp black pepper. Set aside.
- Heat the ghee or oil in a heavy-bottomed pot or Dutch oven over medium heat. Once shimmering, add the cumin seeds and toast for 30-45 seconds until fragrant.
- Add the finely chopped onions. Cook, stirring frequently, for 10-15 minutes until deeply golden brown and caramelized. This is the crucial 'bhuna' step. Don't rush it.
- Add the grated ginger, ```
Frequently Asked Questions
Why is my curry too oily even after cooking?
Your curry might be too oily due to using excessive fat in the beginning, rushing the 'bhuna' process which is crucial for emulsification, adding liquids too quickly or when cold, or over-boiling coconut milk. These factors prevent the sauce from properly absorbing the fat.
Is an oily curry always a bad sign, or why is my curry too oily sometimes acceptable?
No, a slightly oily curry isn't always bad. In many traditional Indian curries, the reddish oil (rogan or tari) indicates well-cooked spices that have released their flavor compounds. The goal is controlled oil separation, not a dish swimming in grease, aiming for a luscious sauce with infused oil.
What is the "bhuna" process, and why is it important if my curry is too oily?
The "bhuna" process is the slow sautéing of onions, ginger, garlic, and spices until they form a thick, homogenous paste. This crucial step allows for emulsification, creating a stable base that can properly hold fat. Rushing it can prevent the sauce from absorbing oil, contributing to an oily curry.
How much fat should I use to prevent my curry from being too oily?
To prevent your curry from being too oily, start with a measured amount of fat. A good rule of thumb is to use 2-3 tablespoons of oil or ghee for a curry serving four people. You can always add a little more if needed later in the cooking process.
Can adding liquids too quickly explain why my curry is too oily?
Yes, adding liquids too quickly or when they are cold can disrupt the emulsification process in your curry, leading to oil separation. Always incorporate liquids gradually and, if possible, warm them slightly before adding them to the curry base.