
5 Easy Ways to Fix Chicken That Cooks Unevenly | RipePlate
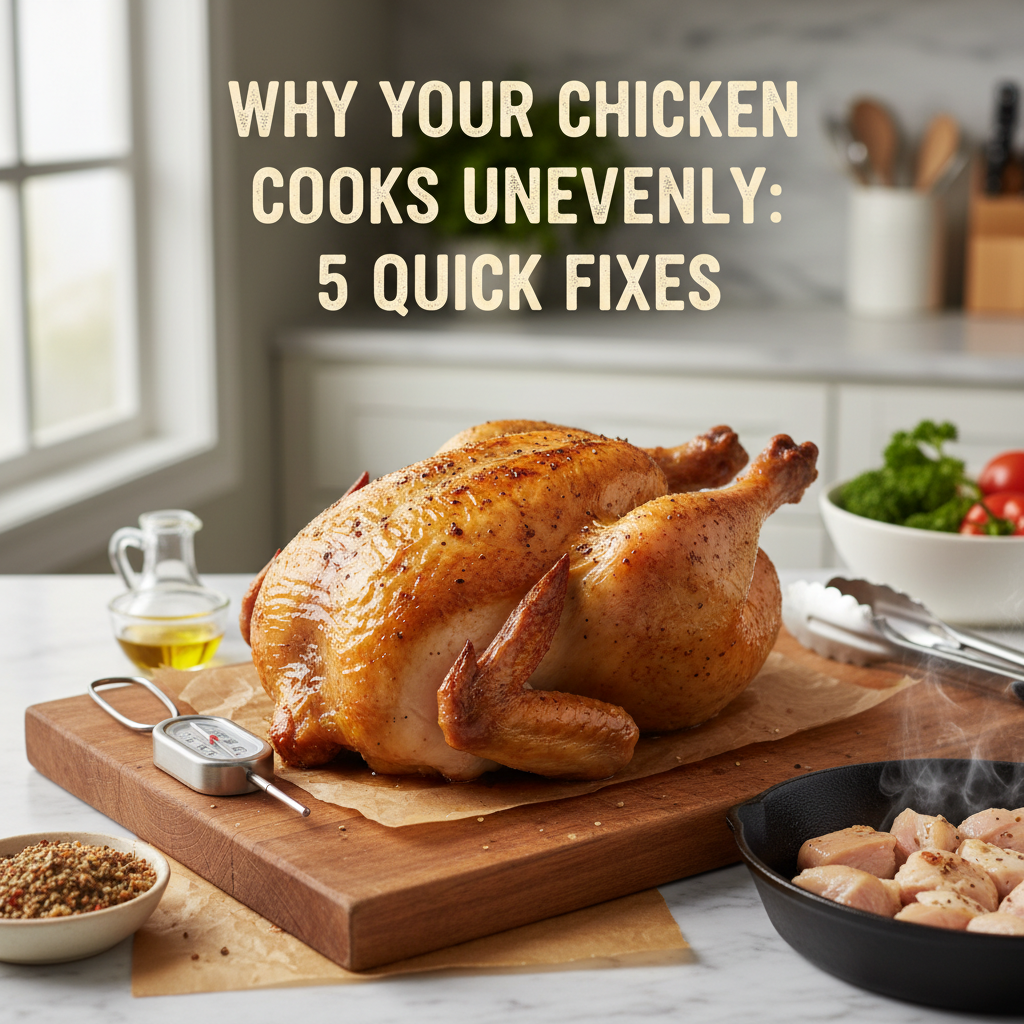
There’s nothing more frustrating than pulling a beautiful, golden-brown chicken breast from the skillet, only to slice into it and find a disappointing reality. One end is perfectly cooked and juicy, but the thickest part is still stubbornly pink. You're left wondering, why does my chicken cook unevenly? It’s a common kitchen headache that can turn a promising meal into a culinary letdown. The main culprits are usually uneven thickness, a crowded pan, or improper heat management. But don't worry, these are all easy problems to solve! We're here to walk you through the science and the simple fixes to guarantee perfectly cooked chicken from edge to center, every single time.
Want to create your own custom recipes? Try our AI-powered recipe generator for personalized cooking solutions tailored to your ingredients and preferences.
The Science Behind Unevenly Cooked Chicken
To understand why your chicken cooks unevenly, we need to talk about heat transfer. When you place a chicken breast in a hot pan, heat travels from the outside in, primarily through a process called conduction. The metal pan heats the surface of the chicken, causing two things to happen: the Maillard reaction, which creates that delicious brown crust, and the coagulation of proteins, which turns the meat from pink and soft to white and firm.
The problem is that chicken pieces, especially breasts, are not uniform geometric shapes. They have thick parts and thin parts. Since heat takes time to penetrate, the thin edges will reach their final cooking temperature much faster than the dense center. By the time the thickest part is safely cooked to 165°F (74°C), the thinner parts are often overcooked, leading to that dreaded combination of dry and undercooked in the same piece. This is also why you might find that the outside is burnt while the inside is still raw—the exterior simply cooked too quickly for the interior to catch up.
| Chicken Part | Minimum Internal Temperature |
|---|---|
| Breasts, Thighs, Wings (Whole or Ground) | 165°F (74°C) |
| Whole Bird (check thickest part of thigh) | 165°F (74°C) |
5 Quick Fixes for When Your Chicken Cooks Unevenly
1. The Pound-It-Out Technique
The Problem: A standard chicken breast has a teardrop shape—thick and bulbous on one end, tapering to a thin point. This natural inconsistency is the number one reason your chicken cooks unevenly.
The Fix: Create a uniform thickness. Place the chicken breast between two pieces of plastic wrap or wax paper (or inside a zip-top bag). Using a meat mallet, rolling pin, or even the bottom of a heavy skillet, gently pound the thickest part of the breast, working your way outwards until the entire piece is an even thickness, about ½ to ¾ inch thick.
Pro Tip: Focus on gentle, even taps rather than aggressive smashing. The goal is to flatten, not pulverize, the meat. This single step will revolutionize your chicken cooking game.
2. Give It Some Space (Don't Crowd the Pan)
The Problem: You're in a hurry, so you squeeze every piece of chicken into the pan. This causes two issues: the overall temperature of the pan drops dramatically, and the chicken pieces start to steam in their own juices instead of searing.
The Fix: Cook in batches. Ensure there is at least an inch of space between each piece of chicken in the pan. This allows hot air to circulate and gives each piece direct contact with the hot surface, promoting a beautiful, even crust and consistent cooking.
Pro Tip: It might feel like it takes longer, but cooking in two proper batches is always faster than trying to salvage one crowded, soggy batch.
3. Master Your Heat Source
The Problem: Blasting the chicken on high heat seems like a quick way to cook it, but it almost always results in a burnt exterior and a raw interior. Conversely, heat that's too low will slowly steam the chicken, making it tough and pale.
The Fix: Use a two-stage heat approach. Start by preheating your pan over medium-high heat. Add your oil, and once it shimmers, add the chicken. Sear for 2-3 minutes per side until golden brown. Then, reduce the heat to medium or medium-low, cover the pan, and let the chicken cook through gently. This gives the inside time to catch up to the outside.
Pro Tip: For extra-thick chicken breasts (over 1 inch), use the sear-and-bake method. Sear both sides on the stovetop, then transfer the entire oven-safe skillet to a preheated 400°F (200°C) oven to finish cooking. This provides gentle, all-around heat.
4. Let It Rest
The Problem: You're hungry, and the chicken smells amazing, so you slice into it the second it comes off the heat. All the juices run out onto your cutting board, and the cooking process stops dead.
The Fix: Patience is a virtue! Transfer the cooked chicken to a clean plate or cutting board and let it rest for 5-10 minutes before slicing. During this time, two magical things happen: the muscle fibers relax and reabsorb the juices, and residual heat continues to cook the chicken (this is called carryover cooking), helping to gently finish off the very center by a few degrees.
Pro Tip: Tent the chicken loosely with a piece of foil while it rests. This keeps it warm without trapping steam, which would make the crust soggy.
5. Use an Instant-Read Thermometer
The Problem: Guessing doneness by color, time, or the clarity of its juices is unreliable. A piece of chicken can still be pink inside for various reasons and be perfectly safe, while clear juices don't always guarantee it's cooked. This uncertainty is a major cause of both over- and under-cooking.
The Fix: Stop guessing and start knowing. An instant-read digital thermometer is the single most important tool for consistently perfect chicken. Insert the probe into the absolute thickest part of the meat, avoiding bone. For any cut of chicken, the magic number is 165°F (74°C). If you're worried about dry chicken, you can pull it off the heat at 160°F and let carryover cooking during the rest period bring it up to 165°F. This is the only way to be sure your chicken isn't raw, but also not overly dry and tough.
Pro Tip: Calibrate your thermometer every few months by testing it in a glass of ice water (it should read 32°F or 0°C) to ensure it's always accurate.
How to Prevent Unevenly Cooked Chicken
- Start Dry: Always pat your chicken completely dry with paper towels before seasoning and cooking. A dry surface promotes better browning and more even heat transfer.
- Temper Your Meat: Let your chicken sit at room temperature for 15-20 minutes before it hits the pan. This takes the chill off and helps it cook more evenly from edge to center.
- Butterfly or Spatchcock: For very thick breasts, butterfly them by slicing horizontally almost all the way through and opening them like a book. For a whole chicken, spatchcocking (removing the backbone and flattening it) is the ultimate trick for even cooking.
- Know Your Pan: A heavy-bottomed skillet (like cast iron or stainless steel) will retain and distribute heat more evenly than a thin, cheap pan, reducing hot spots that cause uneven cooking.
- Trust the Oven: For thick cuts, don't be afraid to combine stovetop searing with oven finishing. The oven's ambient heat is much gentler and more forgiving than the direct heat of a burner.
Frequently Asked Questions
Why is my chicken breast cooked on the outside but raw in the middle?
This classic problem is almost always caused by the heat being too high. The outside of the chicken sears and cooks very quickly, even burning, before the heat has enough time to penetrate to the thick center. To fix this, use a medium-high heat for the initial sear, then lower the heat to medium to allow the inside to cook through gently without burning the exterior. You might also find our guide on why chicken can sometimes look pink even when cooked helpful.
Can I fix chicken that cooked unevenly?
Yes, you can! If you've sliced into a piece and discovered a raw center, don't panic. You can return the chicken to a medium-low heat pan with a lid for a few more minutes. Alternatively, you can place it on a baking sheet in a 350°F (175°C) oven for 5-10 minutes. The key is to use gentle, lower heat to finish the cooking without overcooking the already-done parts.
Does the type of pan affect how evenly chicken cooks?
Absolutely. A heavy-bottomed pan, like cast iron, stainless steel, or a quality non-stick skillet, holds and distributes heat much more evenly than a thin, lightweight pan. Thin pans are prone to hot spots, which will cook the part of the chicken directly over them much faster, leading to uneven results. Investing in one good quality skillet can make a huge difference in all of your cooking.
Complete Chicken Troubleshooting Guide
This is just one of many common chicken cooking issues. For a comprehensive guide covering all chicken problems and solutions, check out our complete Complete Chicken Troubleshooting Guide.