Why Does My Chicken Turn Grey When Cooking? 5 Easy Fixes
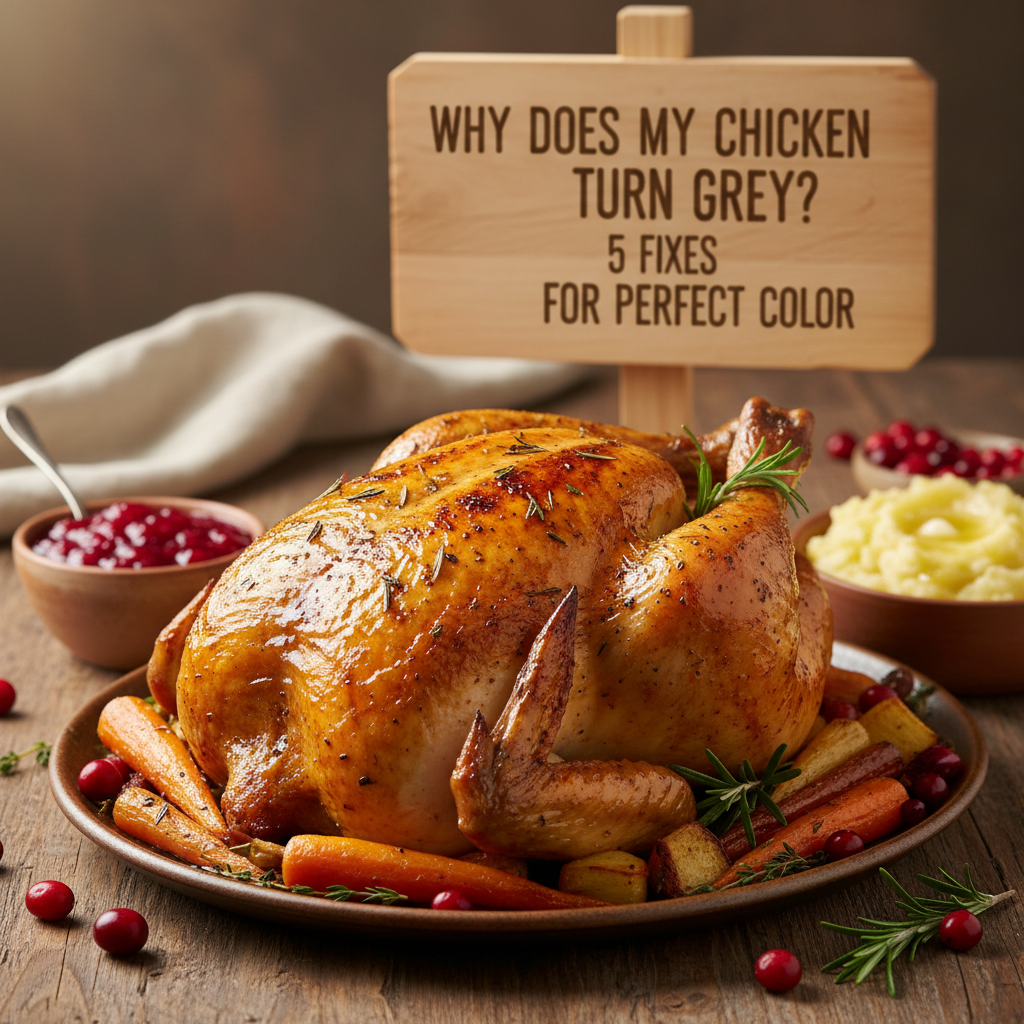
There's nothing more disappointing than pulling out all the stops for a delicious chicken dinner, only to have the star of the show fall flat. You imagine a beautiful, golden-brown crust, but instead, you're staring at a pan of pale, unappealing, grey chicken. It’s a common frustration! If you've ever asked yourself, why does my chicken turn grey when cooking?, you're in the right place. The short answer is usually a combination of three culprits: too much moisture, not enough heat, and a crowded pan. Don't worry, we're about to fix all of that and get you that perfect sear you've been dreaming of.
Want to create your own custom recipes? Try our AI-powered recipe generator for personalized cooking solutions tailored to your ingredients and preferences.
The Science Behind Grey, Steamed Chicken
That gorgeous brown color we crave on cooked meat has a scientific name: the Maillard reaction. It's a complex chemical reaction between amino acids and reducing sugars that creates a symphony of flavor and aroma. However, this reaction has a specific requirement: high, dry heat. It really kicks off around 300°F (150°C).
So, what happens when your chicken turns grey? In one word: steam. When a wet piece of chicken hits a pan that isn't hot enough, the surface moisture doesn't evaporate instantly. Instead, it heats up and creates a layer of steam between the chicken and the pan. Water boils at 212°F (100°C), which is far too low for the Maillard reaction to occur. You're not searing your chicken; you're steaming it. The grey color is simply the color of cooked muscle fibers (denatured proteins) without any of that delicious browning. While it might be cooked through, it lacks the complex flavor and appealing texture of a properly seared piece. Sometimes, this can make people worry their chicken is undercooked, but often it's just a color issue. We explore this more in our guide to differentiating cooked vs. raw pink chicken.
| Cooking Method | Approximate Temperature | Result |
|---|---|---|
| Steaming (Boiling Water) | 212°F / 100°C | Grey, moist, no crust |
| Searing (Maillard Reaction) | 300-500°F / 150-260°C | Golden-brown, crispy crust |
5 Quick Fixes for Why Your Chicken Turns Grey When Cooking
1. Pat It Dry, Then Pat It Again
The Problem: Surface moisture is the number one enemy of a good sear. Chicken, especially after being thawed or removed from its packaging, is covered in a layer of water that will instantly turn to steam in a hot pan.
The Fix: Before seasoning, take several paper towels and thoroughly pat every surface of the chicken until it feels dry to the touch. Don't be shy! You want to remove as much moisture as humanly possible. Season the chicken *after* it's dry.
Pro Tip: For the ultimate dry surface, place the patted-dry chicken on a wire rack set over a baking sheet and let it air-dry in the refrigerator for at least an hour, or up to overnight. This technique, called dry-brining if you salt it first, guarantees an incredibly crispy skin or crust.
2. Get That Pan Screaming Hot
The Problem: A lukewarm pan will not evaporate moisture quickly enough, leading to the dreaded steaming effect. Many home cooks are too timid with the heat, which is a key reason why chicken turns grey when cooking.
The Fix: Place your pan (cast iron or stainless steel are best) over medium-high heat and let it get hot for a good 3-5 minutes *before* you add any oil. A good test is to flick a tiny drop of water into the pan; if it sizzles and evaporates instantly, you're ready. Then, add your oil, let it heat for another 30 seconds until it shimmers, and then add your chicken.
Pro Tip: Using a heavy-bottomed pan like cast iron is a game-changer. It retains heat exceptionally well, so when you add the cooler chicken, the pan's temperature won't drop as drastically.
3. Give Your Chicken Some Personal Space
The Problem: Overcrowding the pan is a classic mistake. When you cram too many pieces of chicken together, two bad things happen: the overall pan temperature plummets, and the chicken releases a massive amount of steam that gets trapped between the pieces.
The Fix: Cook in batches! Ensure there is at least an inch of space between each piece of chicken in the pan. This allows steam to escape and keeps the pan temperature high. It might take a few extra minutes, but the golden-brown results are well worth it.
Pro Tip: Between batches, you can wipe out any burnt bits from the pan with a paper towel (use tongs!) and add a little more oil to ensure the second batch sears just as well as the first.
4. Use the Right Kind of Fat
The Problem: Not all oils are created equal. Using an oil with a low smoke point, like extra virgin olive oil, can cause the oil to smoke and burn before your pan is hot enough to properly sear the chicken, imparting a bitter taste.
The Fix: Choose a fat with a high smoke point. Excellent choices include grapeseed oil, canola oil, avocado oil, or clarified butter (ghee). These fats can withstand the high temperatures needed for a perfect sear without burning. Check out this guide to smoke points from Serious Eats for more info.
Pro Tip: A combination of a high-smoke-point oil (for heat tolerance) and a little butter (added towards the end of cooking for flavor) gives you the best of both worlds.
5. Stop Fidgeting and Let It Sear
The Problem: It's tempting to poke, prod, and move the chicken around to see if it's browning. But every time you lift it, you break the contact with the hot pan and interrupt the crust formation process. This can also cause the chicken to stick and tear.
The Fix: Once you place the chicken in the hot pan, leave it alone! Let it cook undisturbed for 3-5 minutes (depending on thickness) to form a deep, golden crust. When it's ready, the chicken will release itself easily from the pan. If you try to lift it and it sticks, it's not ready yet. This is also a key tip for avoiding tough, stringy chicken.
Pro Tip: Use your ears. When you first add the chicken, you should hear a loud, aggressive sizzle. As it cooks and moisture evaporates, that sizzle will become quieter and more crackly. That's a good sign a crust is forming.
How to Prevent Your Chicken from Turning Grey
Prevention is always the best medicine! To ensure you get a perfect, golden-brown sear every single time, just build these simple steps into your routine. Think of it as your pre-flight checklist for delicious chicken.
- Start Dry: Always, always, always pat your chicken completely dry with paper towels.
- Preheat Properly: Give your pan several minutes to get thoroughly hot over medium-high heat before adding any oil.
- Don't Crowd: Cook in batches, leaving plenty of space between pieces for steam to escape.
- Bring to Room Temp: Let your chicken sit out of the fridge for 15-20 minutes before cooking. A less-cold piece of chicken won't drop the pan's temperature as much.
- Be Patient: Once the chicken is in the pan, resist the urge to move it for several minutes to allow a beautiful crust to form.
Frequently Asked Questions
Is grey cooked chicken safe to eat?
Yes, absolutely. A grey color simply means the chicken was cooked at a temperature too low to cause browning (the Maillard reaction). As long as the chicken has reached a safe internal temperature of 165°F (74°C), it is perfectly safe to eat. It just won't have the same depth of flavor or appealing texture as a properly browned piece.
Why does my boiled or poached chicken turn grey?
This is completely normal! Boiling and poaching are moist-heat cooking methods where the chicken is submerged in liquid. The cooking temperature is limited to the boiling point of water (212°F or 100°C), which is not hot enough for browning to occur. The grey/white color is the natural appearance of cooked chicken muscle fibers in this environment.
Can I fix grey chicken after it's already cooked?
It's tricky, but you can improve it slightly. If the chicken is already cooked through, you can try to add some color by briefly searing it in a very hot, lightly oiled pan for about 30-60 seconds per side. Be careful not to overcook it and create dry, disappointing chicken. Alternatively, you can shred the grey chicken and toss it in a flavorful sauce or use it in soups or casseroles where its appearance is less important.
Complete Chicken Troubleshooting Guide
This is just one of many common chicken cooking issues. For a comprehensive guide covering all chicken problems and solutions, check out our complete Complete Chicken Troubleshooting Guide.
Happy cooking!